

This was a fun challenge because as some may know by now – most low carb doughs can be a little tricky to work with, from dense textures to pliability issues and more. Never mind trying to create something airy and flexible enough to form a huge pocket!
Luckily, there are fun ways to work around these minor annoyances to deliver tasty and functional pita or flatbreads right at home. This Ketofy My Favs challenge reviews homemade options (gluteny and non-gluten) as well as premade and store bought options.
Jump to: Homemade Low Carb Pita Bread Recipe | Faster Gluten Free Recipes | Ready Made Options
Homemade Low Carb Pita Bread Recipe
1 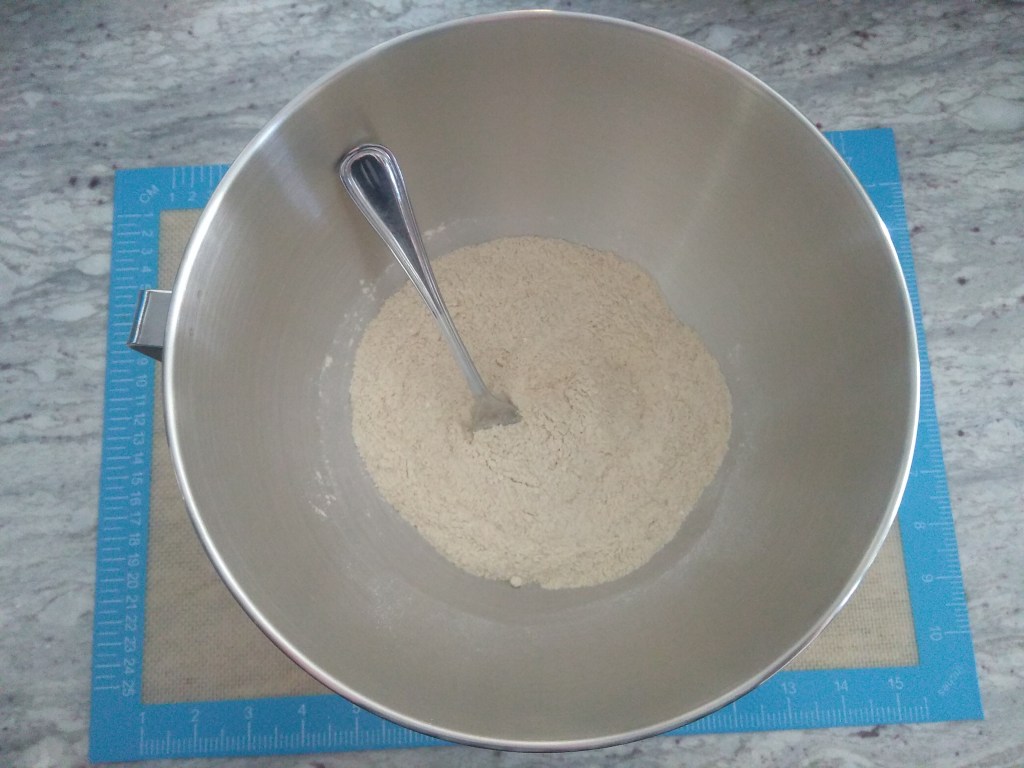
2 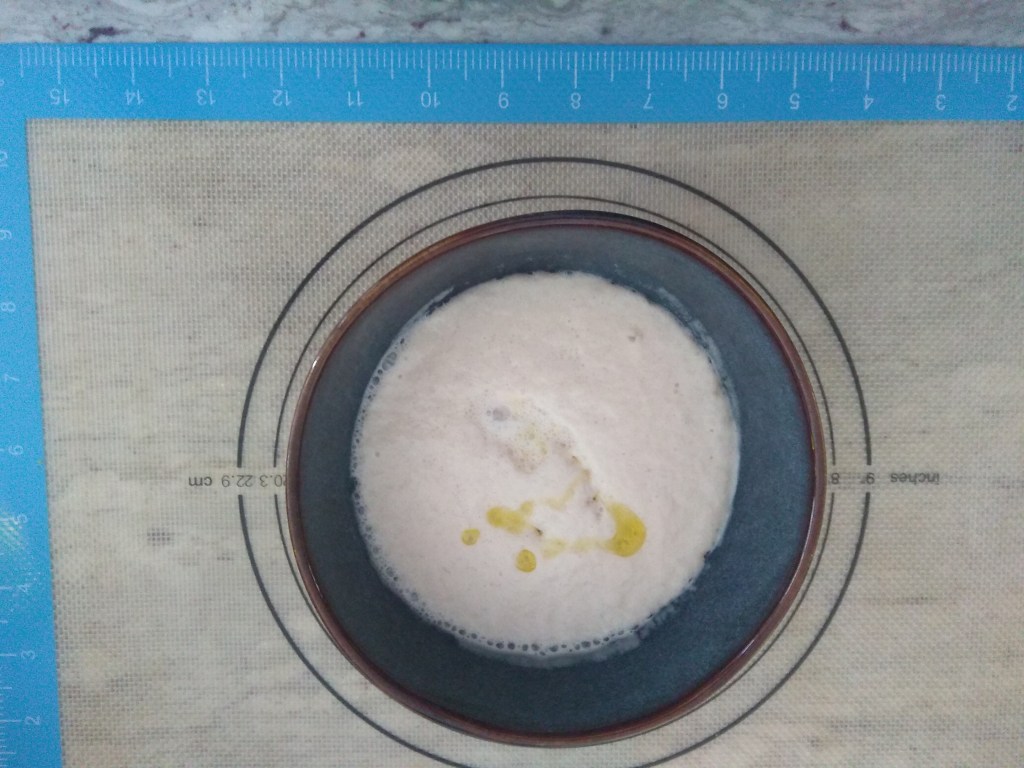
3 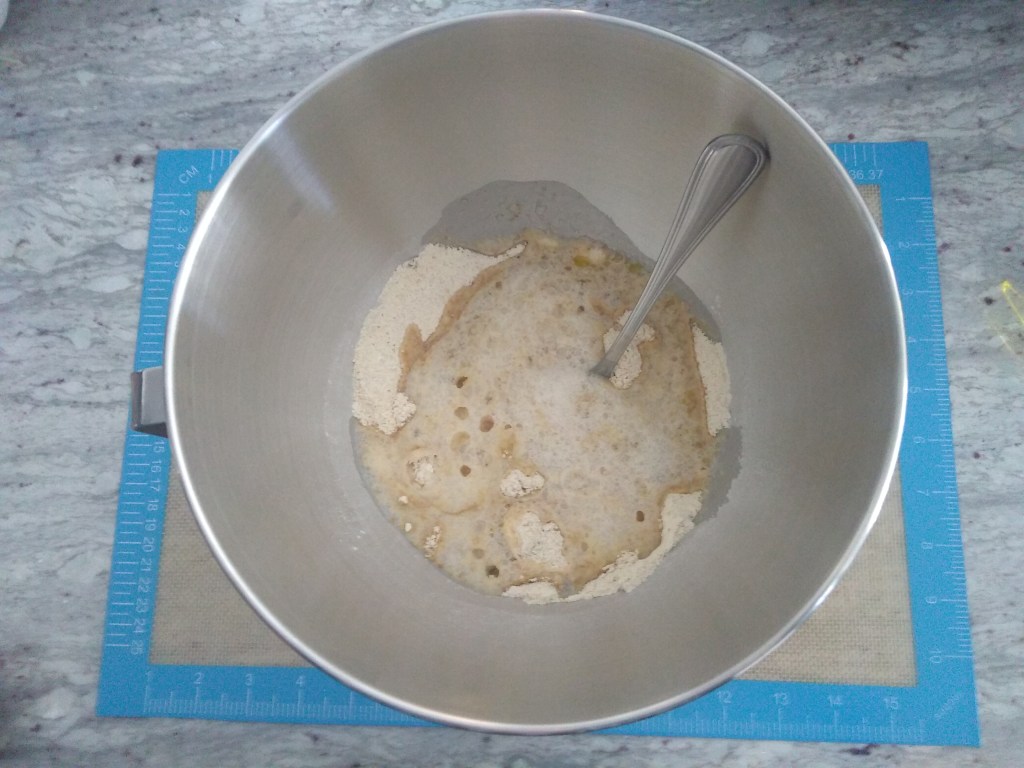
4 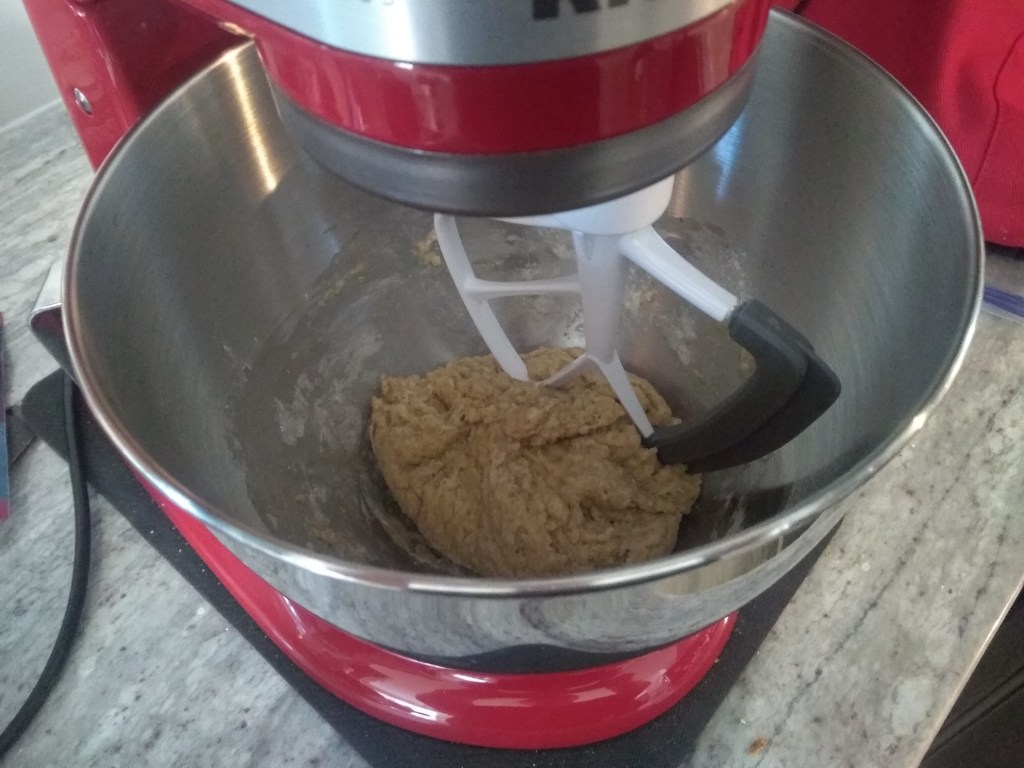
5 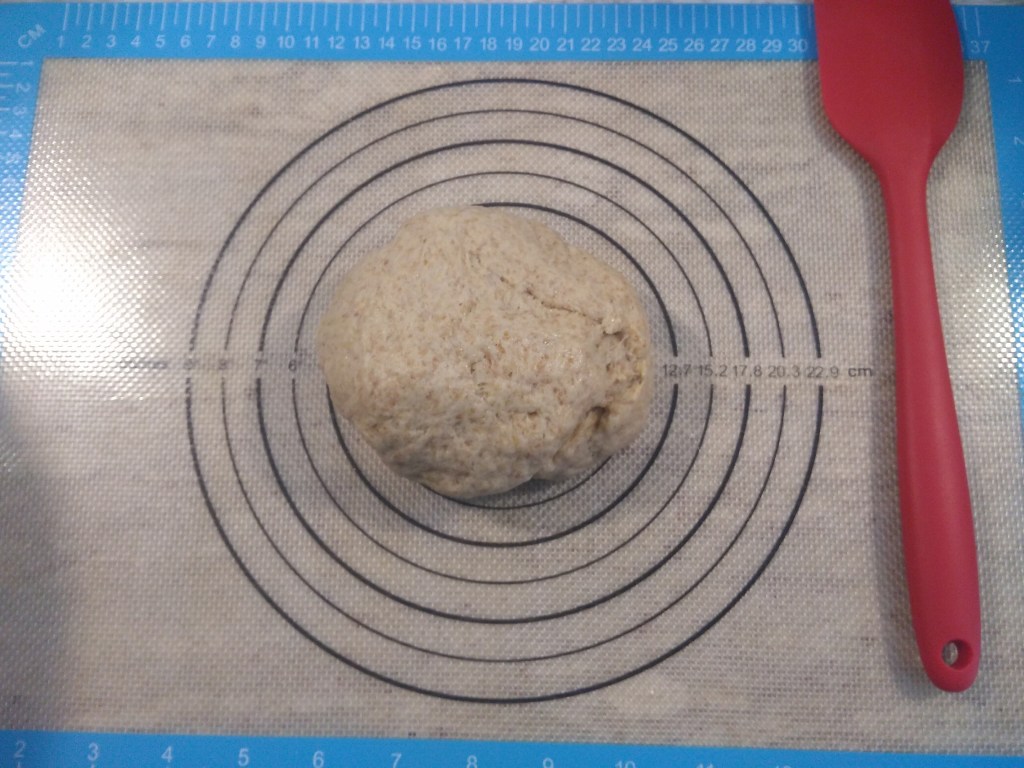
6 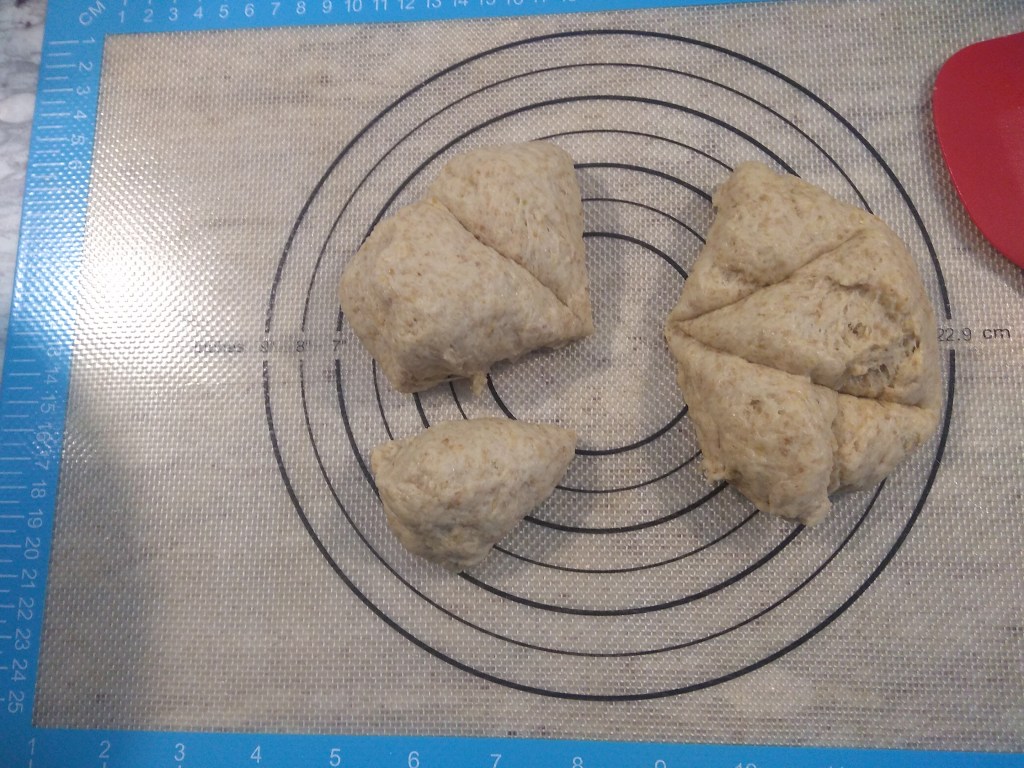
7 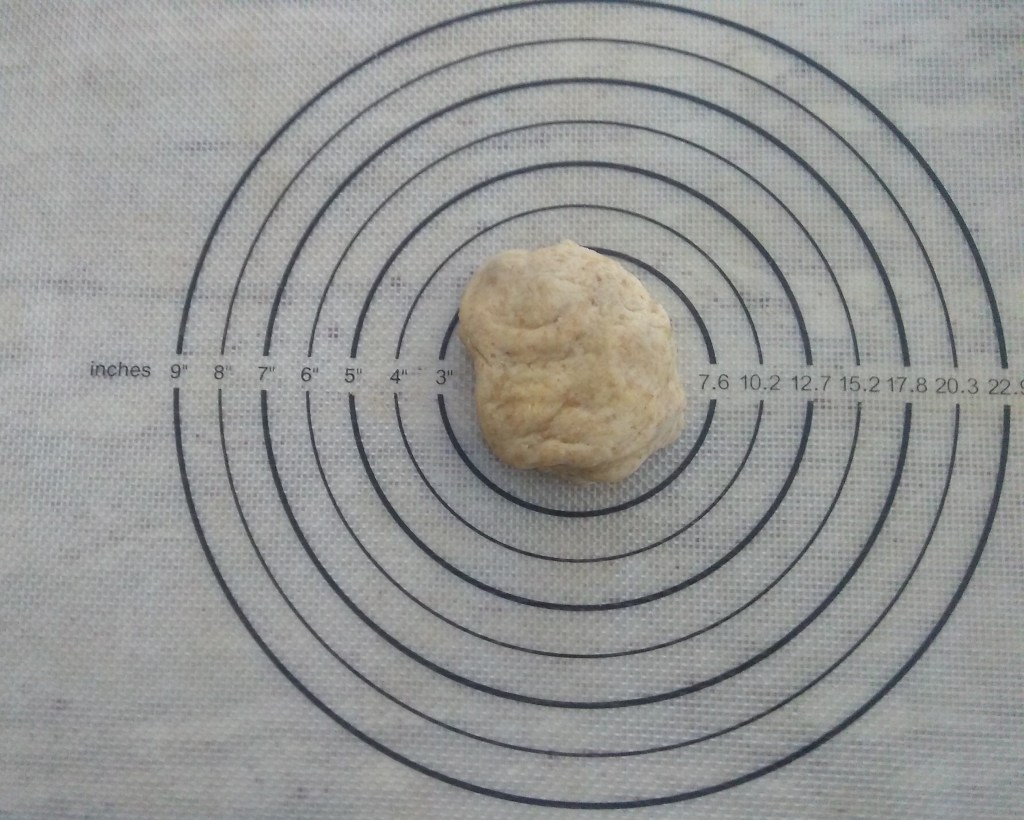
8 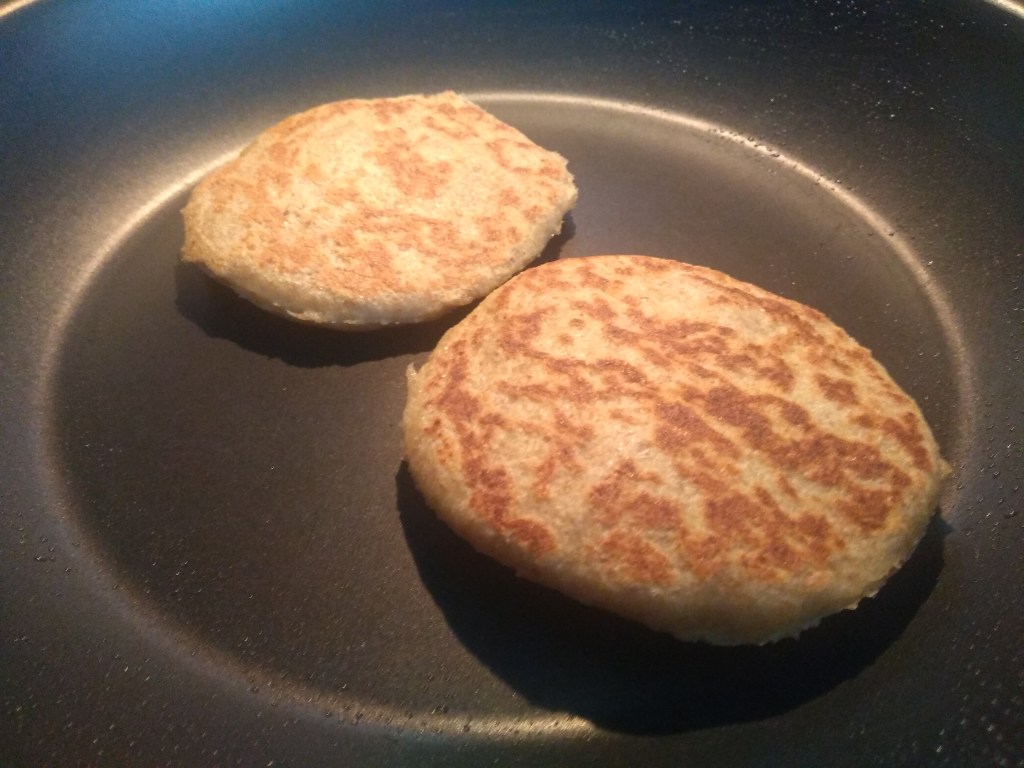
9 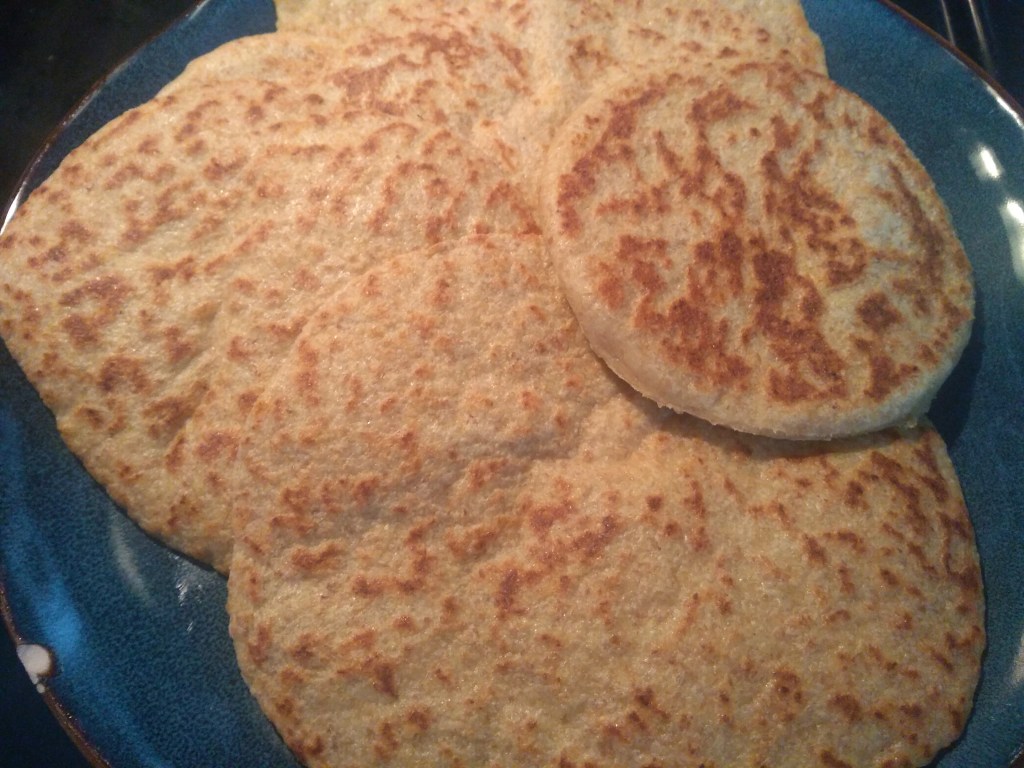
10 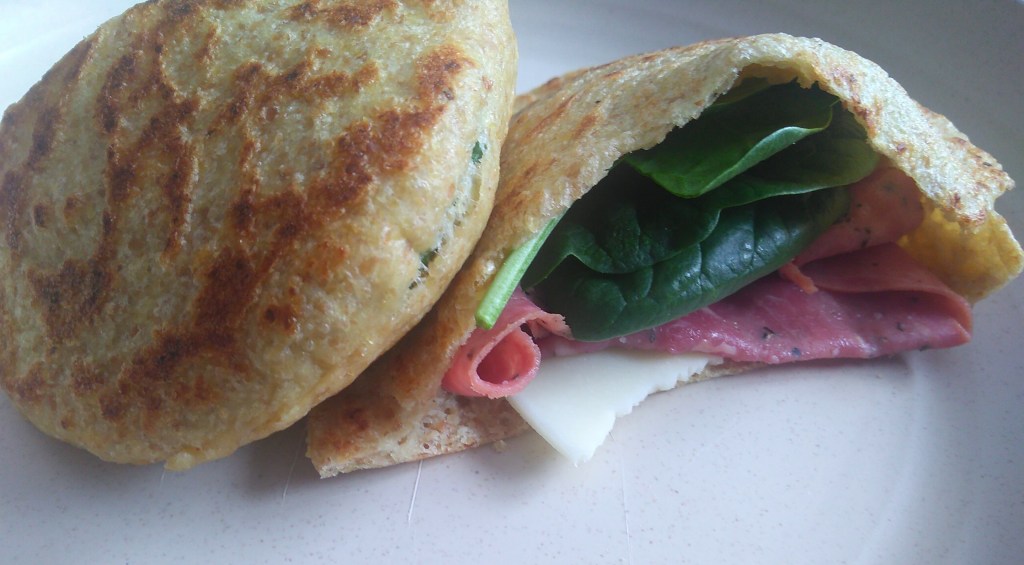
Om nom.
Brief Summary: Make the dough. Wait. Roll the dough. Wait. Cook the dough. Wait. Eat.
Yep, there’s a lot of waiting with this recipe, but it’s worth it. Plus, it doesn’t take very long to actually put everything together so active cook time is relatively short. The hard part is just letting that dough do its thing.
Ingredients
- 3/4 cup Warm Water (105ºf-115ºf)
- 1 tbsp Active Dry Yeast
- 1 tbsp Inulin
- 2 tbsp Extra Virgin Olive Oil
- 1/2 cup Vital Wheat Gluten
- 1/3 cup Oat Fiber
- 1/3 cup Finely Ground Flaxseed (we like golden)
- 1 tbsp Powdered Erythritol (or equivalent of preferred sweetener)
- 1/2 tsp Salt
Directions
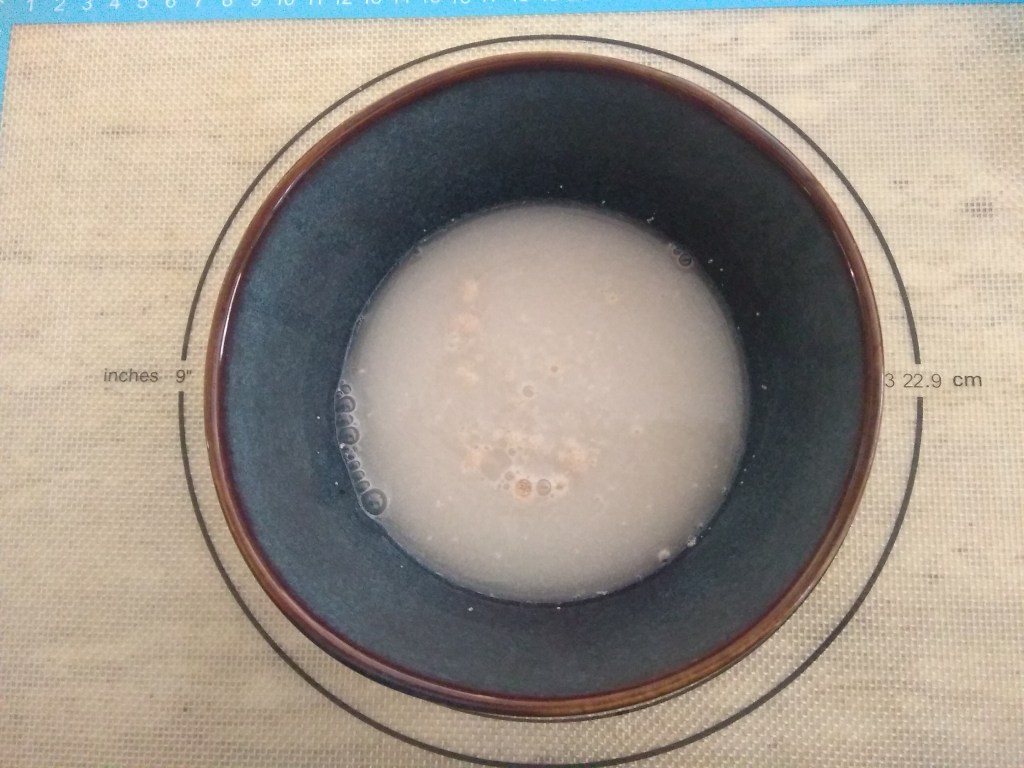
1. Activate the yeast by combining warm water, yeast, and inulin in a small to medium sized mixing bowl. Give the ingredients a quick stir then set a dish towel on top and place the bowl in a warm area until it becomes foamy (about 5-10 minutes). We usually put it inside our microwave with the light on or inside our oven (it’s off!) with the light on.
2. While the yeast is activating, add all of the remaining dry ingredients in a medium sized mixing bowl and combine well. This includes the vital wheat gluten, oat fiber, flaxseed, erythritol, and salt.
3. Once the yeast is bubbly and foamy, gently stir in the olive oil.
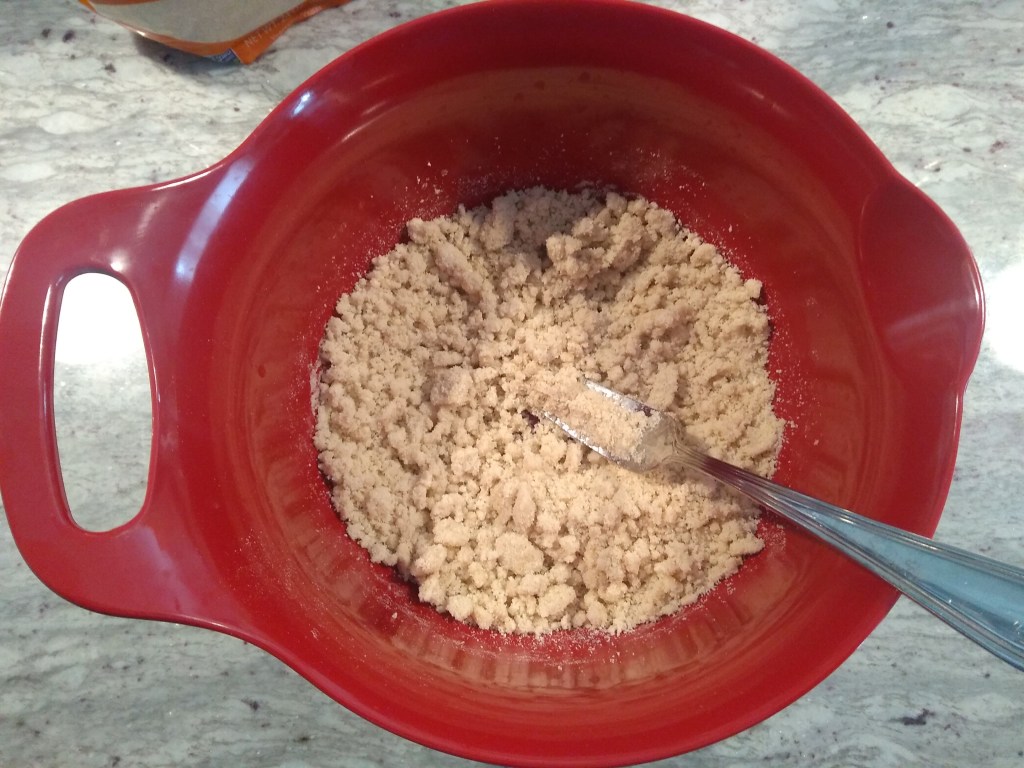
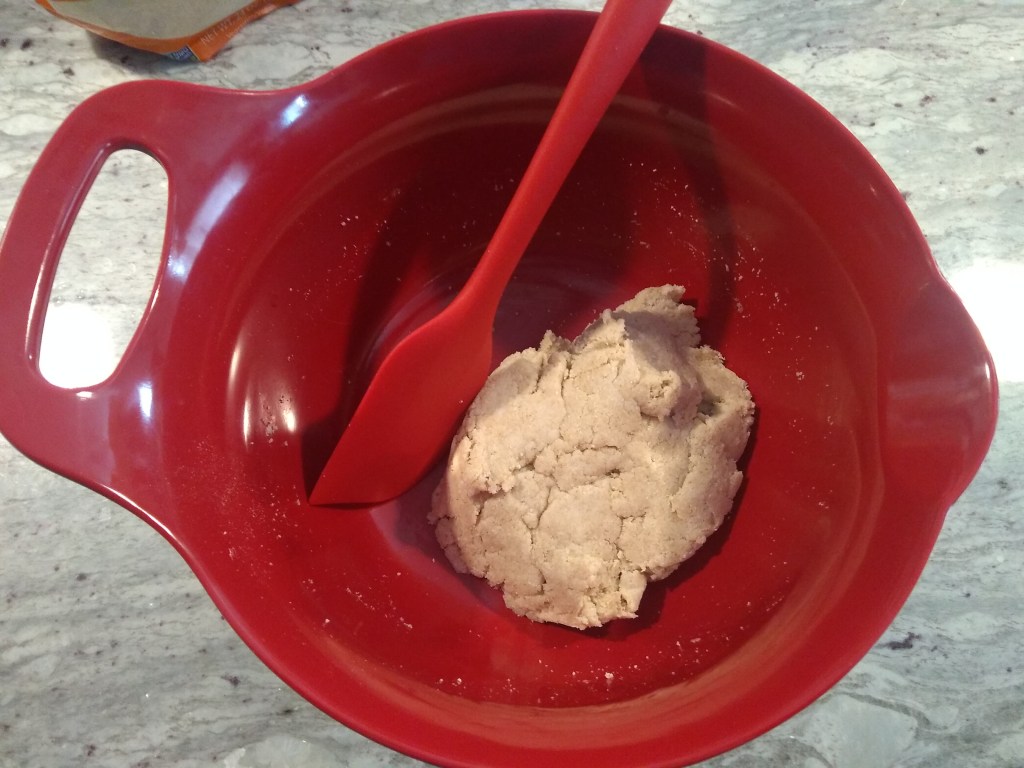
4. Add the yeast/olive oil mixture to the dry ingredients and combine well until there’s no loose dough left and it starts to form a ball-like shape.
5. Gently knead the dough – this can be done with your hands for about 5-10 minutes, or in a stand mixer with a paddle attachment (not the dough hook!) on the lowest setting for about 3-5 minutes.
Note: The dough hook creates too much tearing which overly stimulates the gluten. The goal is to be gentle and quick.
6. Cover the dough and let it rest for 1.5 to 2 hours in a warm place until double in size.
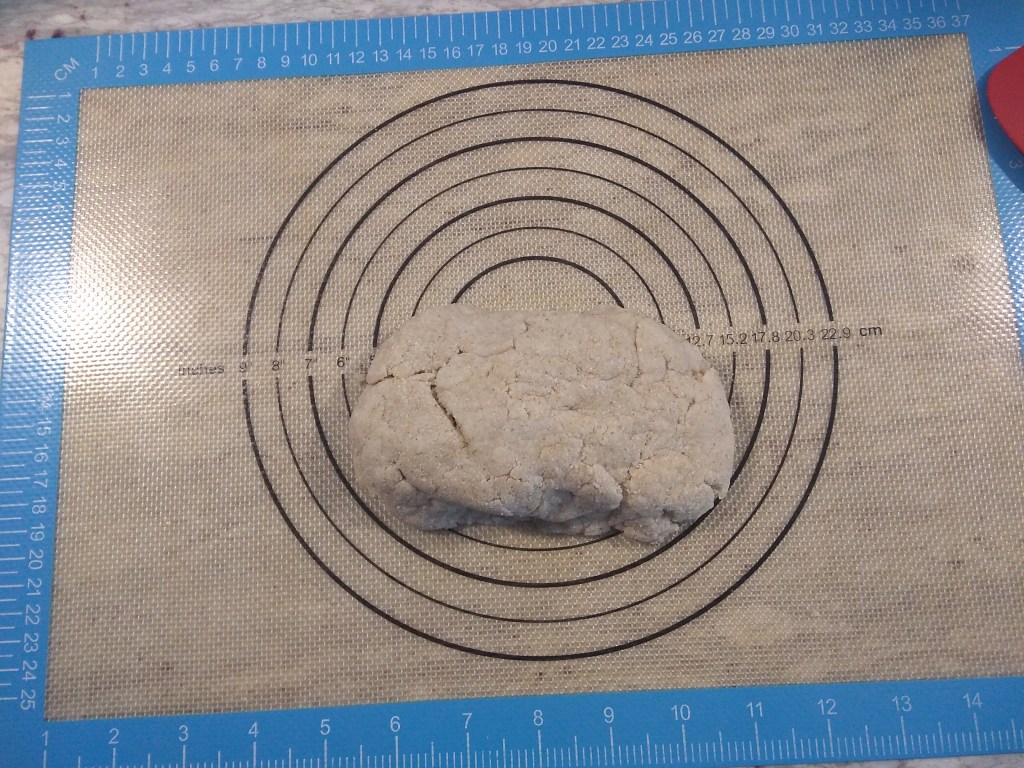
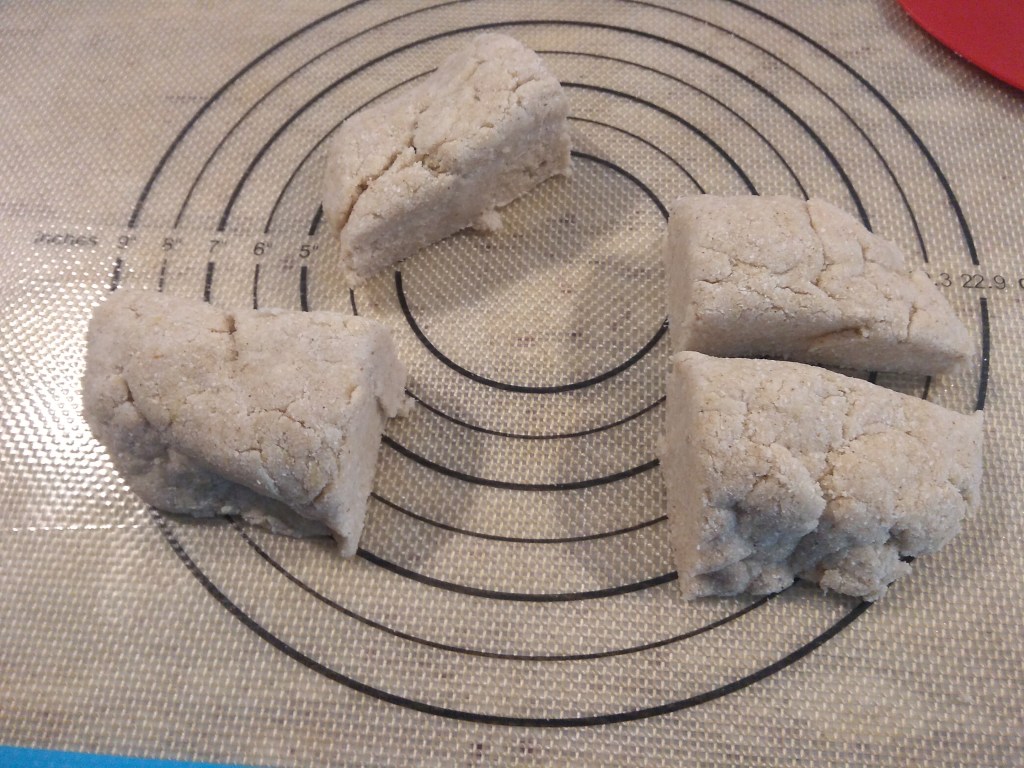
7. Divide dough into 8 pieces (method #1) or 6 pieces (method #2). See methods below.
8. Place a dough piece on a silicone mat or parchment paper and follow one of the 2 methods outlined below:
Method #1: Create the Pocket – yields 4 thicker, sturdier pitas with pockets
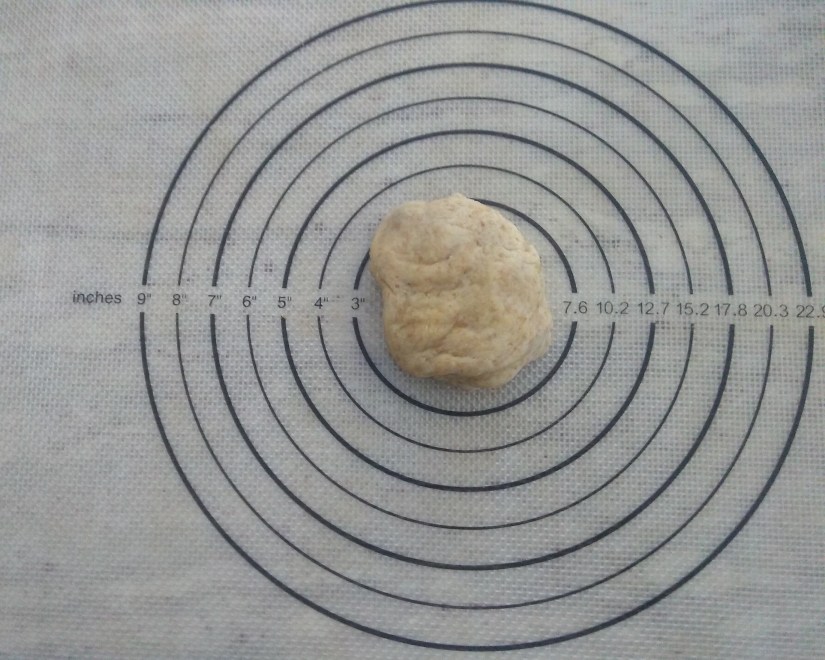
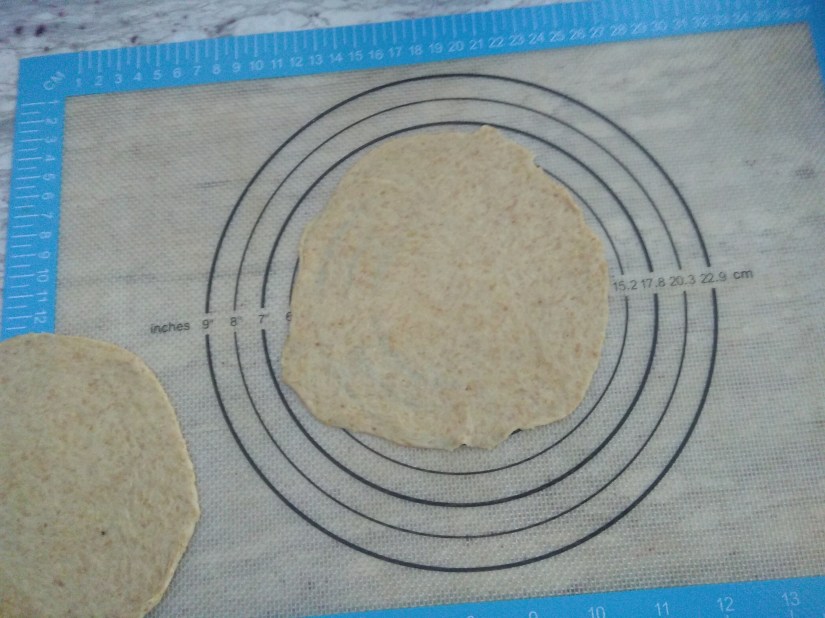
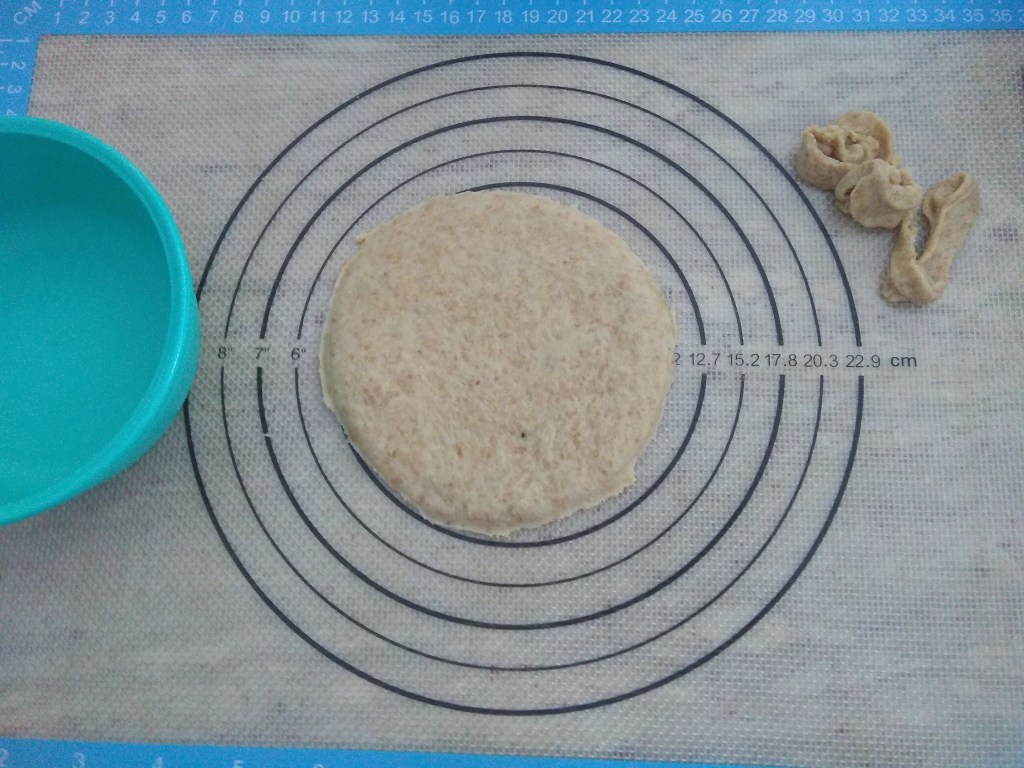
- Place a piece of parchment on top of the dough piece.
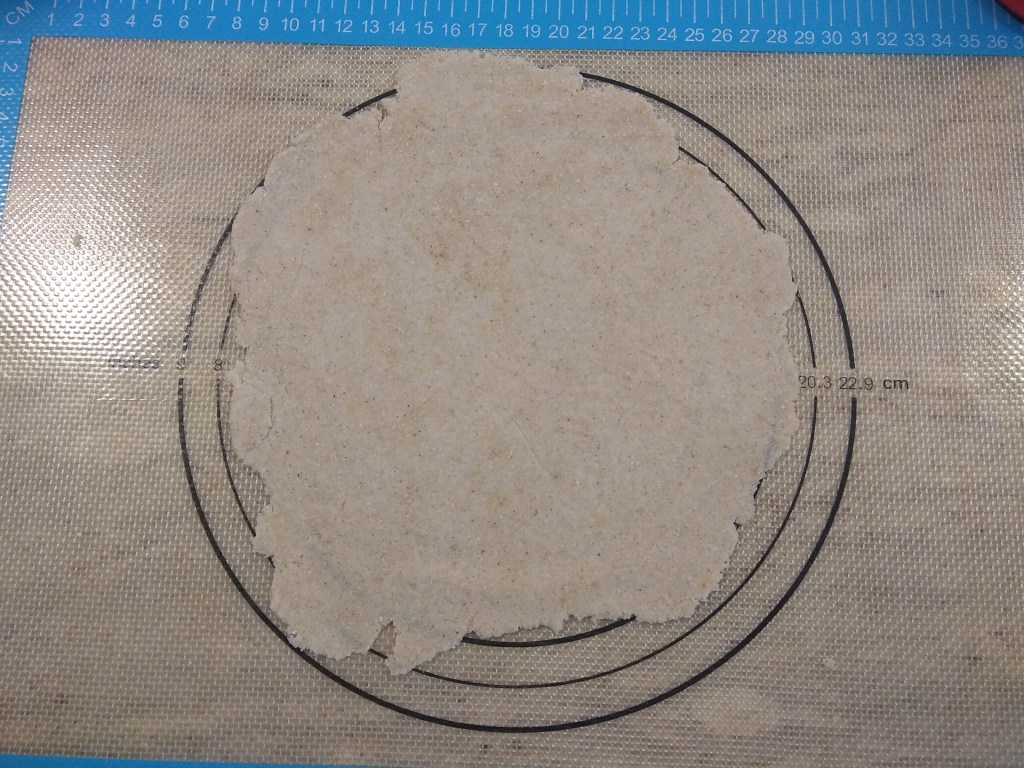
- Roll it out to about a 6-7 inch circle, set to one side.
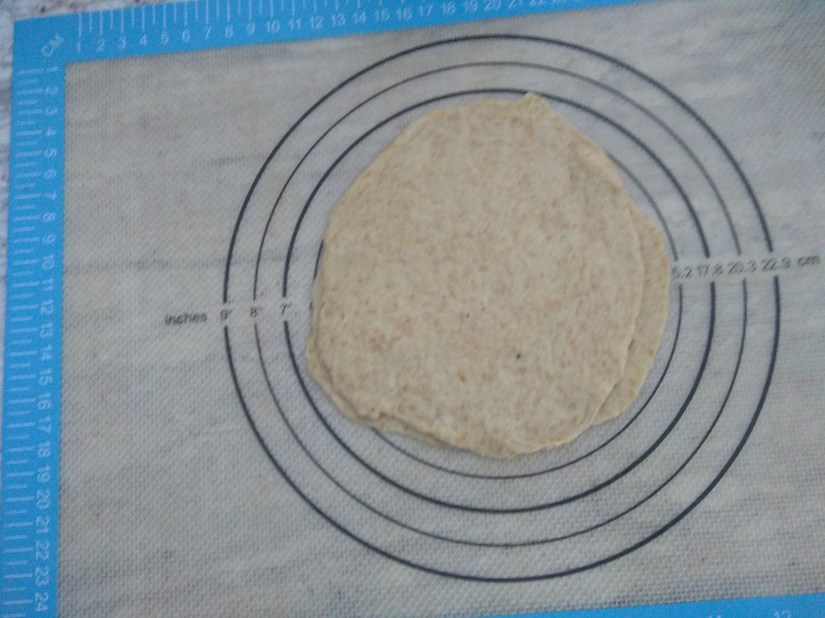
- Grab another piece of dough and roll it out to about the same size as the first.
- Lay the first piece of dough on top of the second.
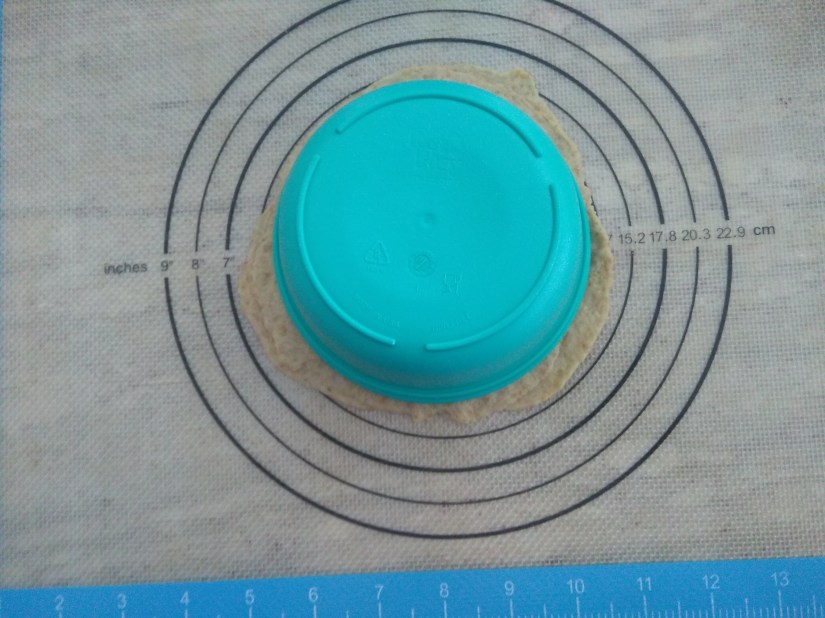
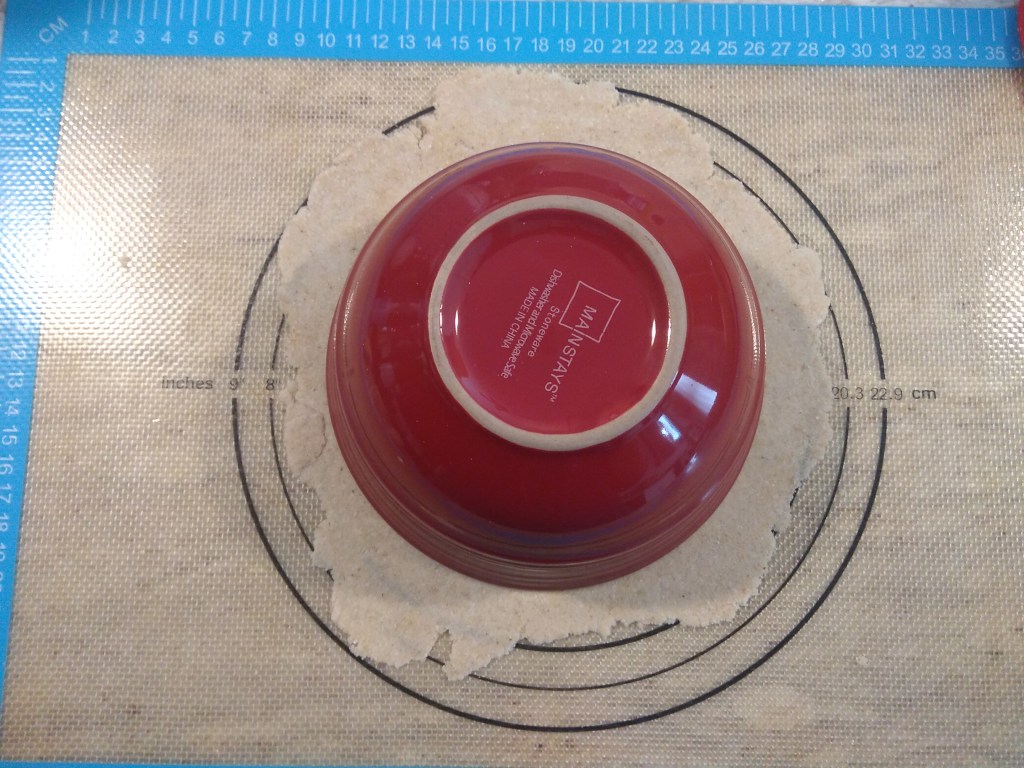
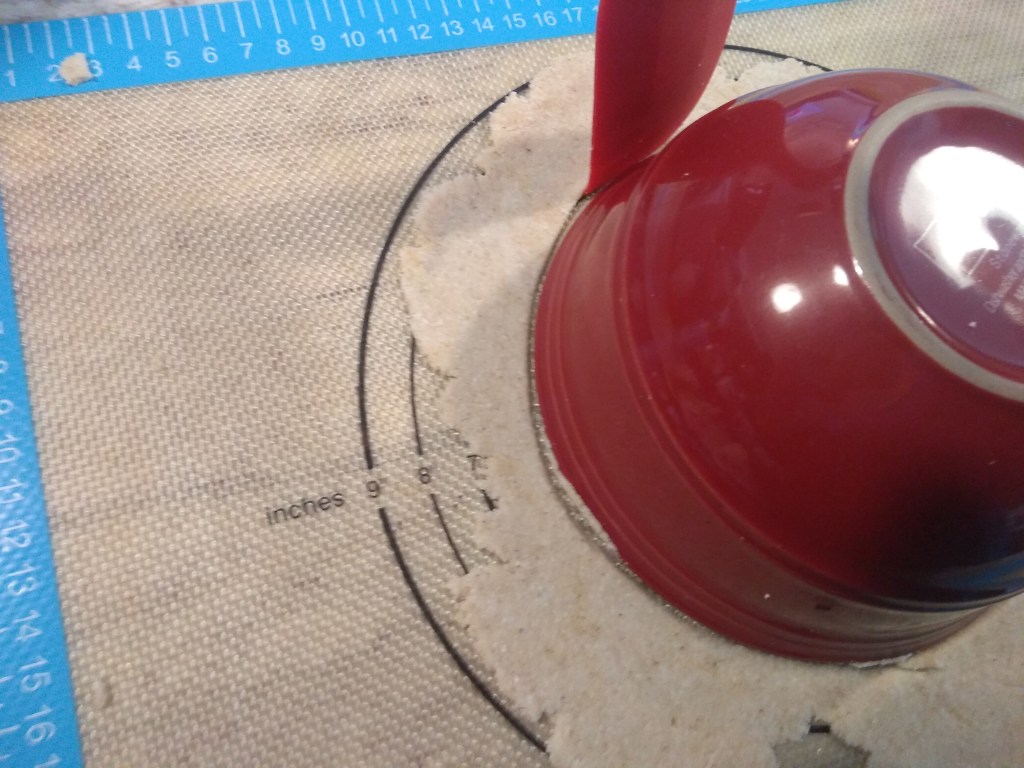
- Place a large enough bowl or cutter on the rolled out dough and gently smoosh down to seal the edges together.
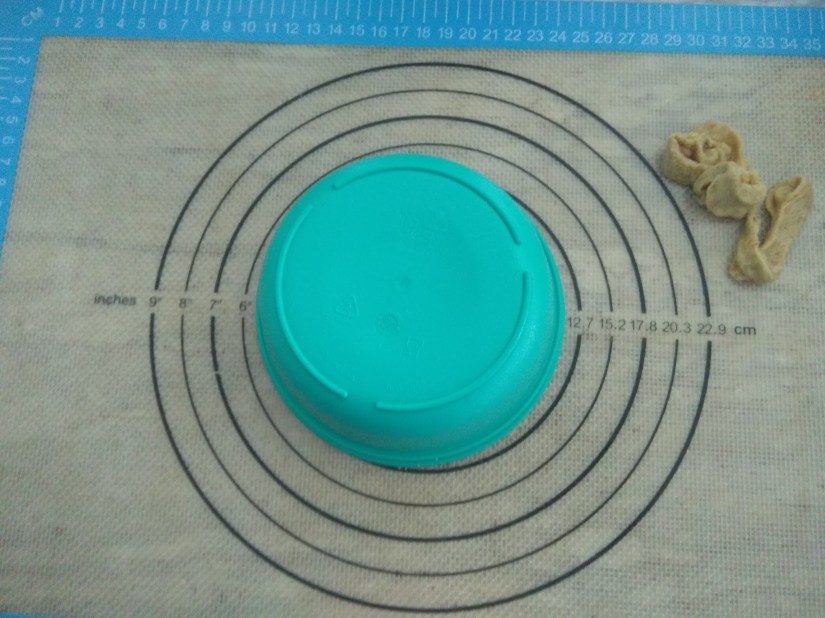
- Cut away the excess dough.
- Set it aside to rest under a dish towel.
- Repeat for remaining pieces of dough.
Method #2: Without the Pocket – yields 6 slightly larger/thinner pitas, you’ll have to *very carefully* cut open your own pocket
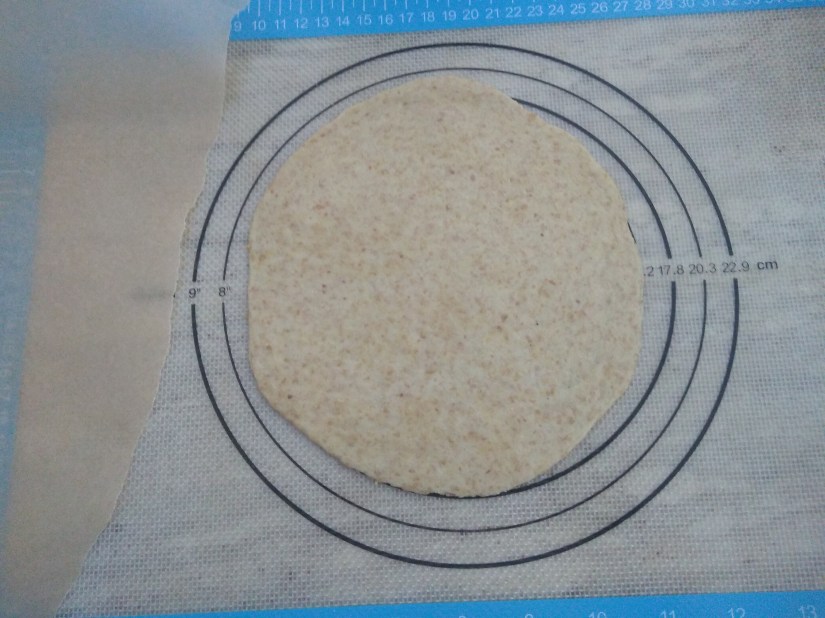
- Place a piece of parchment on top of the dough piece.
- Roll it out to about a 7-8 inch circle and set aside to rest under a dish towel.
- Repeat for all remaining pieces of dough.
- Let all rolled out pieces rest while covered for about 20-30 minutes.
Note: The rolled out dough pieces will shrink slightly in width from initial rolled out sizes. That’s expected. If you’re not planning on creating a pocket, these can be rolled as wide as 9-10 inches each to create a large, thin flatbread.
Tip: These are all just suggestions about what worked well for us. Roll the dough out however thick you’d like! We usually do a variety of sizes/types.
9. Heat up a lightly greased, large pan or stovetop griddle to medium-high heat and add a few pitas (don’t crowd the pan, leave room to flip). They will start to slightly puff right away. After about 1-2 minutes, flip to cook the other side. It’s ready when dark golden blotches appear on both sides.
Keep an eye on these while they cook as pita thickness and stovetop heat can vary greatly.
10. Remove from heat and let cool for about 10 minutes before serving or cutting open.
Cut the Pocket
If you used method #1, you’ll need to cut the pita in half. That’s it, the pocket is already there =)
If you used method #2, you’ll need to cut the pita in half and then make a shallow cut along the length (about 1-2 centimeters deep). At that point, you should be able to slowly and gently peel open the pocket. This is thinner but still durable and flexible enough to fill.
Store leftovers in an airtight container in a cool, dry place. These keep for about 5 days on the countertop.
Makes 4 Servings | Serving: 1 pita | Net Carbs: 2.7g | Calories: 164*
Disclaimer: Info provided here by entering the ingredients used into Carb Manager. These numbers can change based on the ingredients/brands/etc. you choose to use.
*The calories are higher because this is a rich pita packed with nutritious protein and fat. If desired, you can try to use less olive oil to reduce the calories but be sure to increase the water/moisture a bit to make up the difference.
Gluten Free Homemade Low Carb Pita Bread
These are simple, super quick flatbreads that can be used in place of a pita. They lack the traditional bread-like flavors and textures but that doesn’t make them any less delicious. In fact, my husband much prefers these coconut wraps to the pita pocket bread above.
Coconut Flour Pita Bread


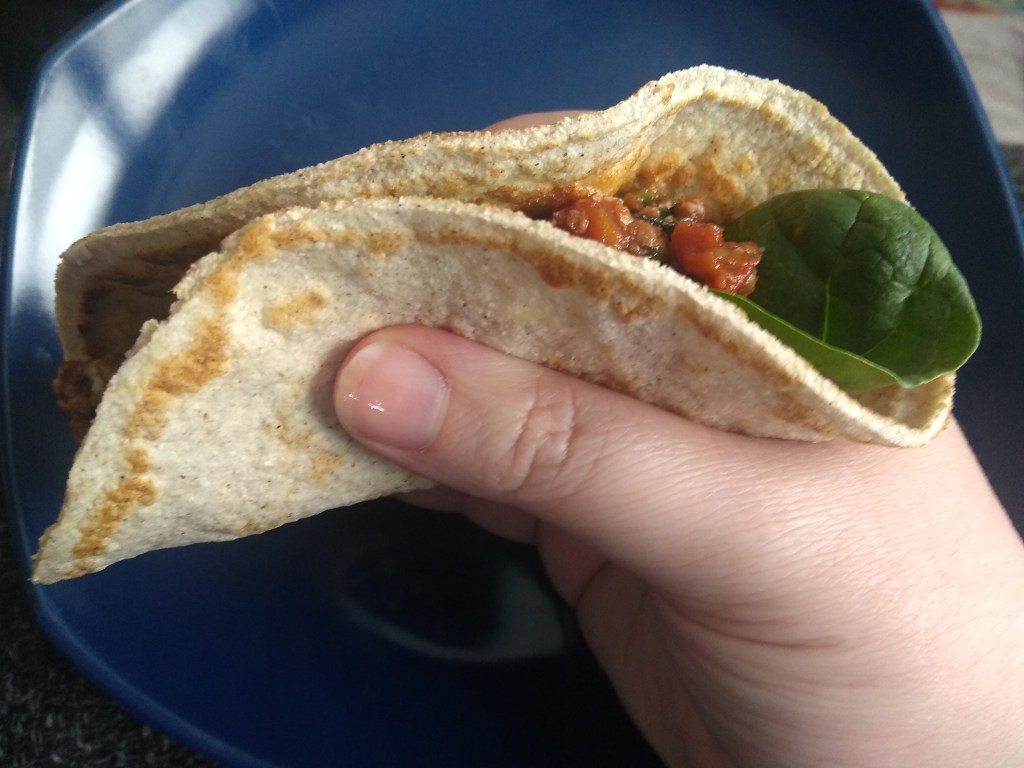
These ingredients are fairly standard across the board for most recipe makers. The general consensus is coconut flour + psyllium husk = the best gluten free, egg free, nut free pita or flatbread. These are fairly pliable, but still delicate enough that we wouldn’t recommend cutting out a pocket. You can try the method above of overlaying thin dough pieces on top of each other and sealing the ends – just be careful stuffing because again, kinda delicate.
Ingredients
- 1/2 cup Coconut Flour
- 1 tbsp Psyllium Husk
- 1 cup Warm Water
- 1/8 tsp Salt, to taste
- 1 tbsp Extra Virgin Olive Oil
You can also substitute for melted butter or ghee
Note: If you’ve never used psyllium husk powder before, it might surprise you that it sometimes turns your baked goods PURPLE. Yep. I’ve never experienced this with the brand we use (NOW Foods Psyllium Husk Powder) but if you do, don’t worry – the food is still safe to eat as the psyllium husk is naturally purple before it’s ground down, but you may want to try either regrinding the powder or using a different brand.
Directions
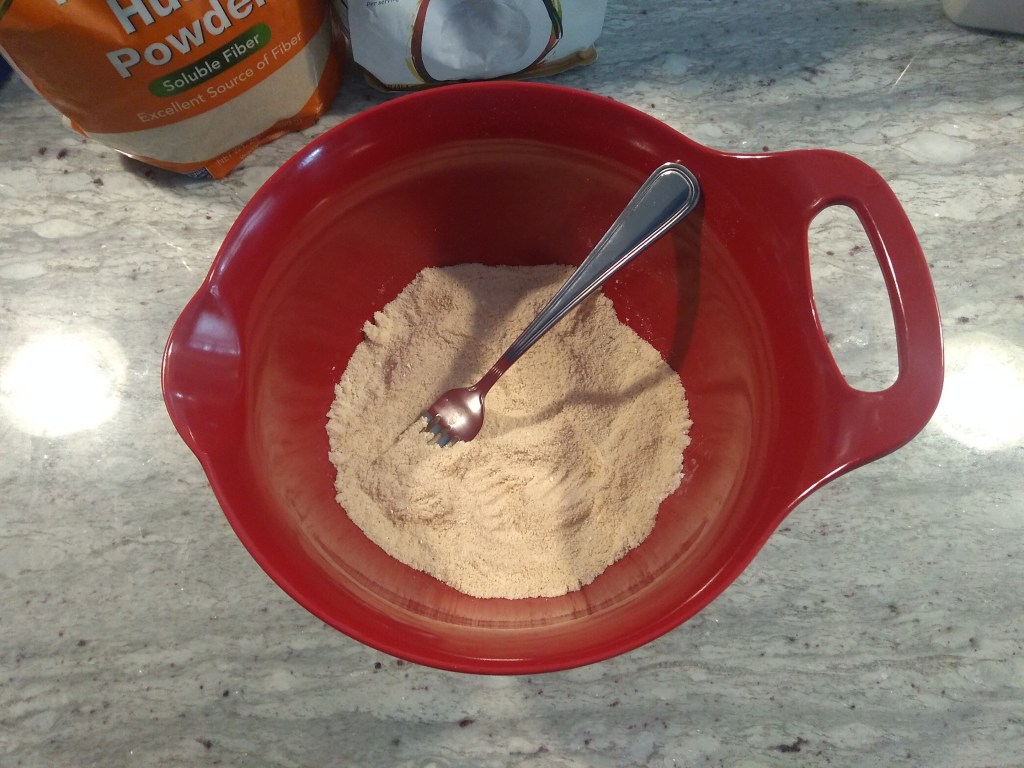
1. Combine coconut flour, psyllium husk, and salt. Either sift them together into a mixing bowl or use a fork to mix and smash any clumps. We tend to smash.
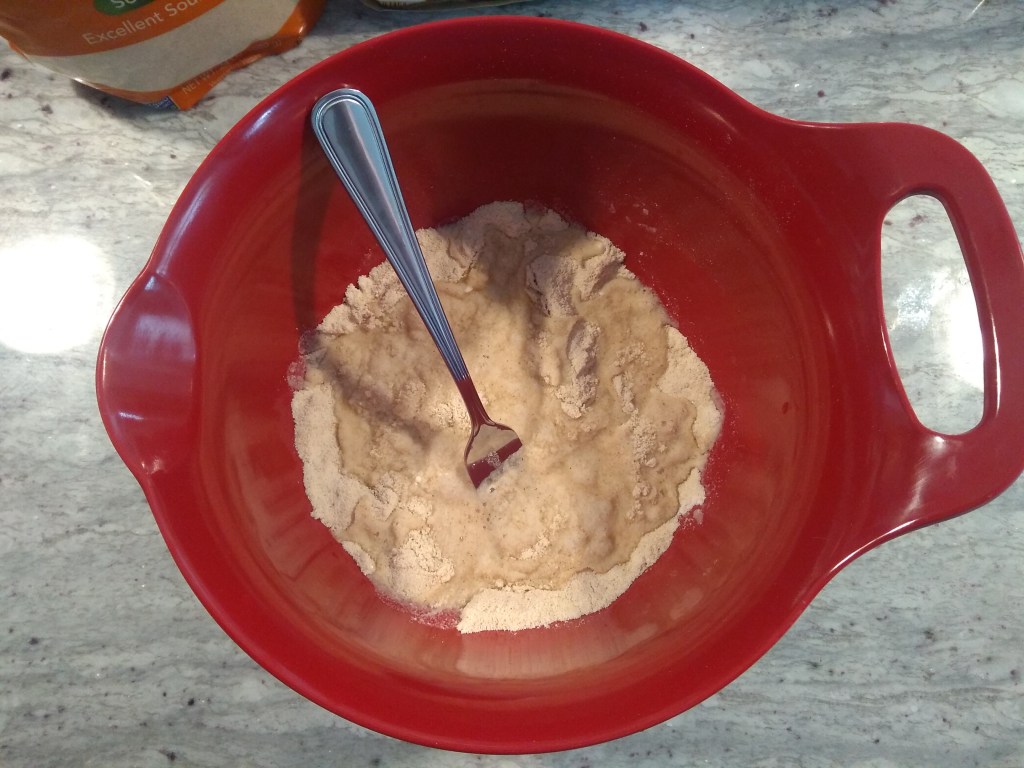
2. Add water and start mixing and smooshing the dough together with a silicone spatula or your hands. It will be a bit crumbly at first. As the flour absorbs more and more of the moisture, it will start to come together in a clump. Be patient, takes a minute.
3. Smoosh into a ball and let rest for 10-15 minutes. This lets the dough fully absorb all the water and should then be a bit easier to work with.
4. Split the dough into 4 equal pieces.
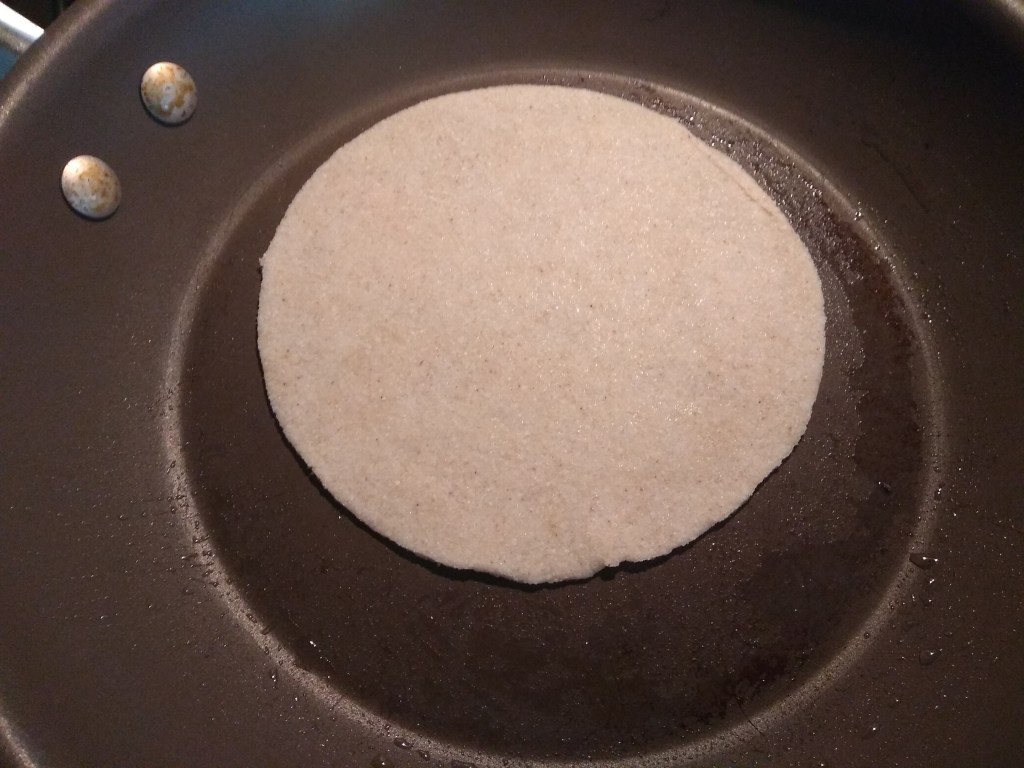
5. Add a piece of parchment paper on top (or use your hands) to roll the dough flat.
6. Place a bowl on top and cut away the excess dough to form a circle. Set aside until ready to cook.
7. Repeat the process for the remaining dough and use the excess cut-away dough to create 2-3 additional tortillas.
8. Heat up a large pan or stovetop griddle to medium-high heat.
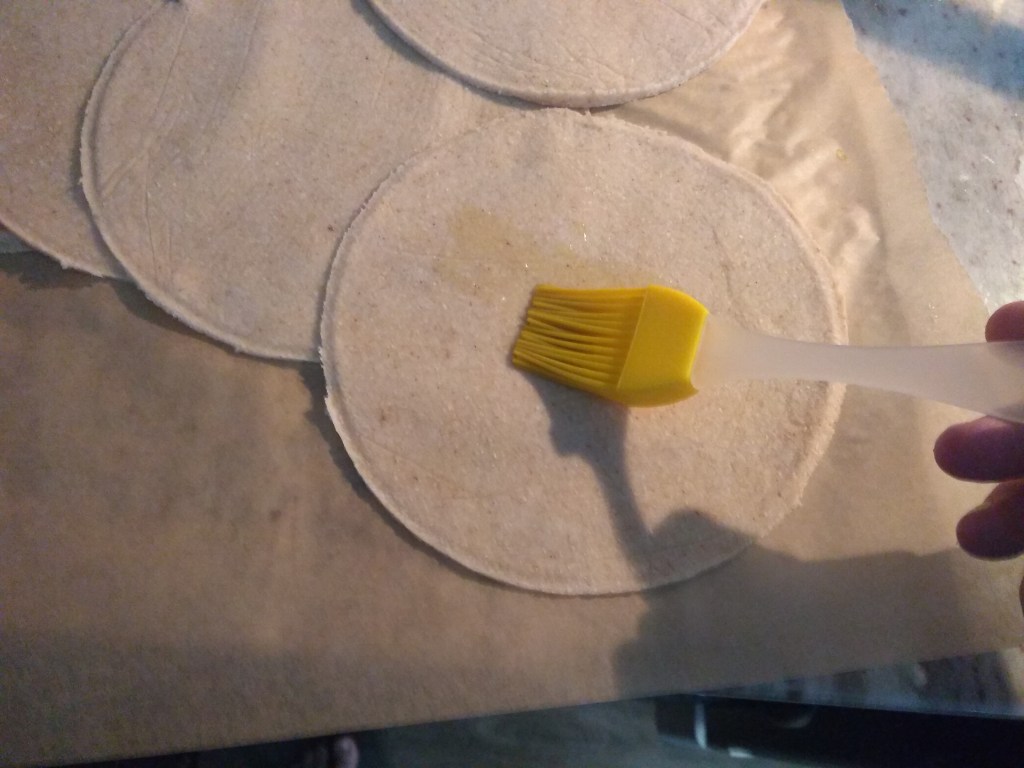
9. Lightly brush both sides of the pita with olive oil and place into hot pan.
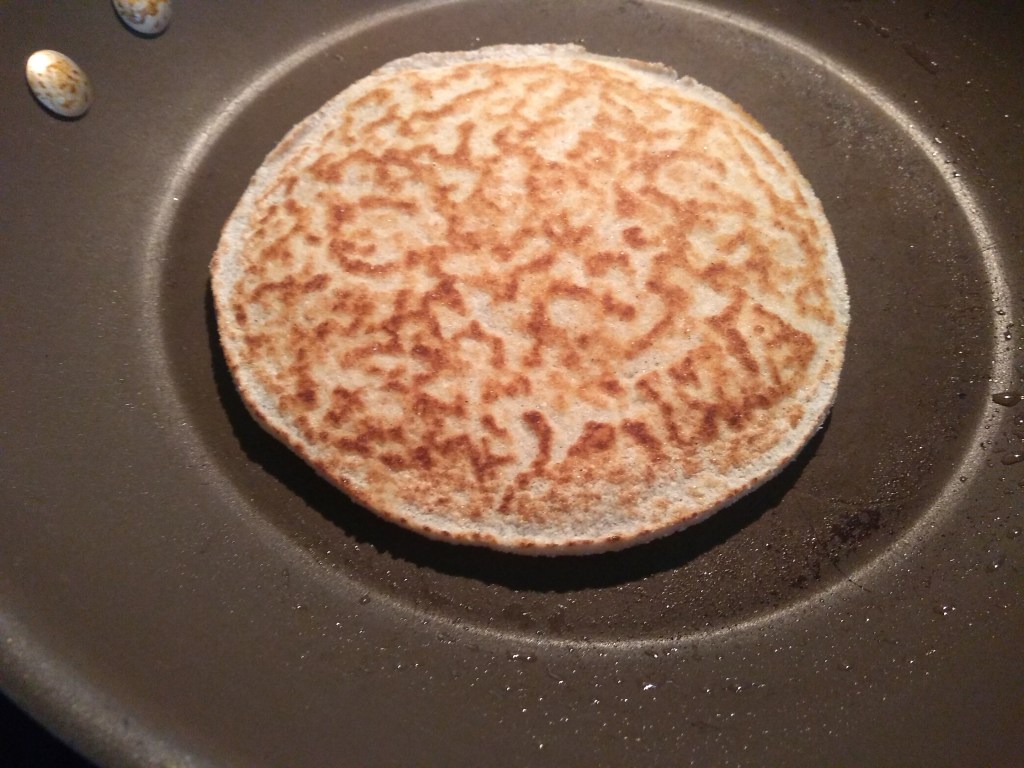
10. Cook for about 1 minute on both sides or until dark golden splotches appear. Let cool for 5 minutes before serving.
Tip: These can be fried! Add enough oil to coat the entire bottom of the pan and then carefully fry these on both sides. They get very puffy while cooking and they taste a bit like chalupas but can be used like fried pitas.
Store in an airtight container in a cool, dry place. These keep for about 4 days on the countertop.
Makes 6 Servings | Serving: 1 flatbread | Net Carbs: 2.2g | Calories: 65
Disclaimer: Info provided here by entering the ingredients used into Carb Manager. These numbers can change based on the ingredients/brands/etc. you choose to use.
Fathead (cheese dough) Pita Bread
If you’ve poked around the low carb community at all then you’ve probably seen A LOT about the many uses of fathead dough. We’ve even mentioned fathead a few times on this site. Since there are bajillions of recipes for fathead out there we figured we’d just summarize quickly and offer some links to popular fathead pita/flatbread/pide/etc. recipe videos by various low carb bakers.
Fathead is essentially just dough made out of – you guessed it – cheese! Typically, the ingredients involve shredded mozzarella (low moisture, part skim), cream cheese and/or eggs, and some kind of dry binder such as dry grated parmesan, pork panko crumbs, almond flour, or coconut flour. It’s incredibly easy to make and incredibly versatile.
Check out these Fathead Pita Bread Recipe Videos
Low Carb Pita Bread Recipe by FlavCity with Bobby Parrish
Keto Flatbread | Keto Naan by Pakladies
KETO Naan Bread by Joe Duff
Keto Flatbread | Keto Pide by Keto Twist
Ready Made Low Carb Pita Bread / Flatbreads
Find In Stores or Online
There are days where you just want what you want, when you want it, and ya don’t wanna spend a bunch of time in the kitchen getting things ready and that’s okay. Luckily, there’s little FOMO (fear of missing out) when it comes to flatbreads and eating a lower carb diet. For example – we actually found very low carb Joseph’s Pita Bread in our local grocery store (been around for ages) and they were pretty good! If you’d like to learn more about super easy / premade options – check out this excerpt from our lengthy post about Easy Low Carb Substitutions – Flatbreads & Tortillas:
Flatbreads & Tortillas: Cheese, Fathead, Egg, Big Leafy Greens, Protein, and surprisingly – Oat Bran and Whole Wheat
Much like the bread loaves above, there are MANY choices out there for Low Carb Flatbreads & Low Carb Tortillas – likely sitting right in front of you in every supermarket. There are also lots of easy-to-make substitutions at home including cheese wraps, egg wraps, and lettuce or cabbage wraps. Those are incredibly easy and economical solutions that render near zero carbs each. There are also tortillas and flatbreads on the market that taste like the real deal. The caveat is once again the ingredients. You’re trading familiarity and ease for a laundry list of ingredients that, while lower in carbs and sugar, may still cause some issues. Again, this is a step in the right direction. Just. Be. Mindful.
P.S. These make great thin pizza crusts and egg roll wrappers!
| BRANDS TO LOOK FOR: |
|---|
| La Banderita |
| Mission Carb Balance |
| Ole Xtreme Wellness Wraps |
| Joseph’s Lavash & Pita Bread |
| Cut Da Carb Wraps |
| Folios Cheese Wraps |
| Crepini Egg Wraps or Egg Thins |
